

When You Have More than One
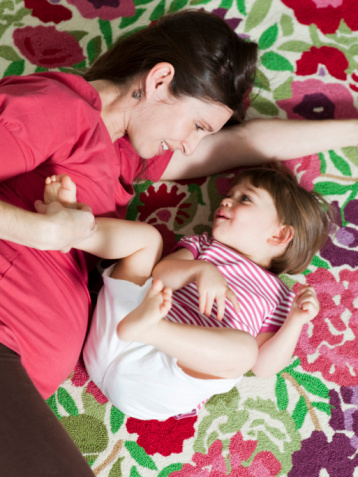
It is not necessary that this be your first pregnancy, and if you have already have a first (and second) child, including her/him in the photograph would be simply outstanding. The bond between the siblings, the one that has already been there, and the one who is yet to arrive, can be exquisitely captured in a photograph to be savored for life. In your home, outside, or anywhere you think these moments can be elicited, just keep your camera handy for those perfect images.

Candid shots or specific poses, you can choose from either when deciding to have a pregnancy photograph clicked with your other child and the pregnant mother.
for more click here:Pregnancy Photo Ideas


